
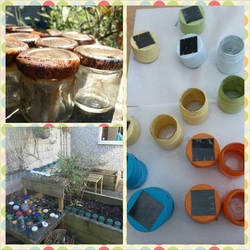
I found a dustbin full of empty clean jars in my garden. We don't have a blue box that the council provide to take them away - must request one soon - and it's too much hassle to drag them over the recycling bank as we don't have a car. So, I decided to see what we could do with some of the before we get our blue box.
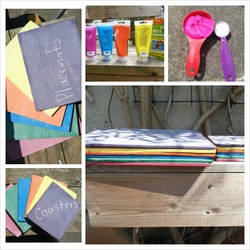
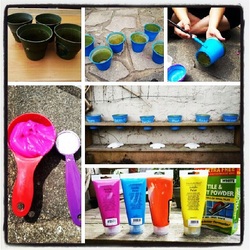
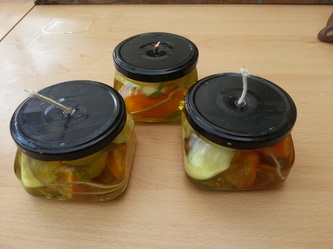
On sorting out the jars I found a number of jars that were the same shape and size with the same lids. There were very nice small jars with little gold lids and I thought "tea light holders". But I'm a lazy person, and with 20 of these jars, I know what I wouldn't be willing to go around lighting 20 tea lights. So the next best thing sprung to mind, "solar lamps". I discovered mini solar panel or solar cells are quite hard to come by and quite expensive. So I trotted off to Homebase and found these. A small cost, but all the other materials were free or pre-existing so I was willing.
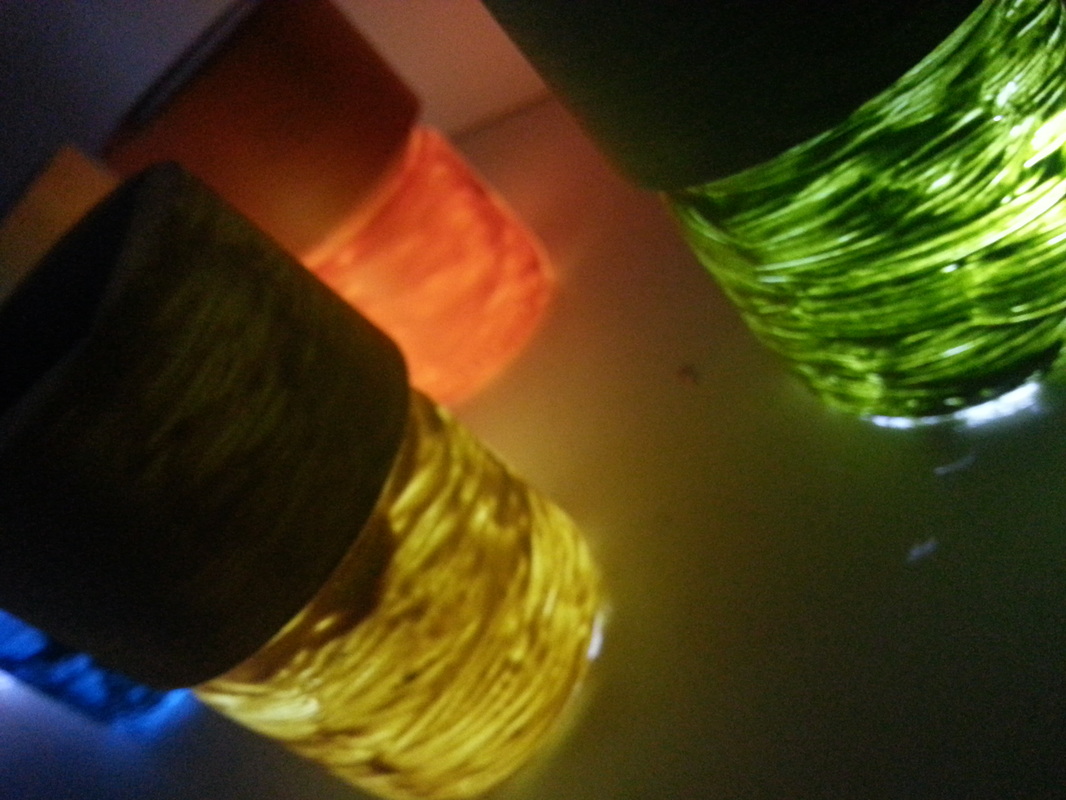
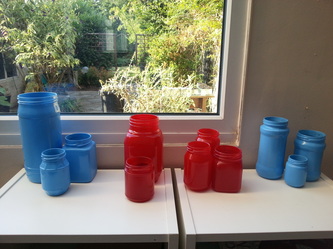
I took the light mechanism off, replace the jar lids with it and painted the jars and lids my colours. Luckily the lids were of the same circumference, not something I checked before hand....phew, so just popped on top of the jars.
I really like the way you can see the paint strokes, and from a distance it looks like a wet surface.
On sorting out the jars I found a number of jars that were the same shape and size with the same lids. There were very nice small jars with little gold lids and I thought "tea light holders". But I'm a lazy person, and with 20 of these jars, I know what I wouldn't be willing to go around lighting 20 tea lights. So the next best thing sprung to mind, "solar lamps". I discovered mini solar panel or solar cells are quite hard to come by and quite expensive. So I trotted off to Homebase and found these. A small cost, but all the other materials were free or pre-existing so I was willing.
I took the light mechanism off, replace the jar lids with it and painted the jars and lids my colours. Luckily the lids were of the same circumference, not something I checked before hand....phew, so just popped on top of the jars.
I really like the way you can see the paint strokes, and from a distance it looks like a wet surface.


 RSS Feed